Why photo prep matters more than laser settings
Most engravers who get a bad result go hunting for new speed and power settings. But in the majority of cases the problem was baked into the image before the laser ever fired. An engraving machine compresses the thousands of tones in a photograph into a narrow band of burns the material can actually show. If the photo is flat, noisy, damaged or cluttered, that compression turns a face into mud — and no settings tweak can rescue it. (If you have already burned a disappointing photo, our breakdown of why laser engraved photos look bad diagnoses the most common failures one by one.)
Proper photo preparation for laser engraving means doing the tonal work in advance: the face carries strong, deliberate contrast, the background doesn't compete with the subject, and the file has enough resolution for the machine's dot size. Get those three right and almost any laser — diode, CO2 or fiber — will produce a portrait you're proud to hand over.
Step 1. Choose the right source photo
No amount of editing beats a better original. Before any processing, pick the strongest source you can find — it is the single highest-leverage decision in the whole workflow.
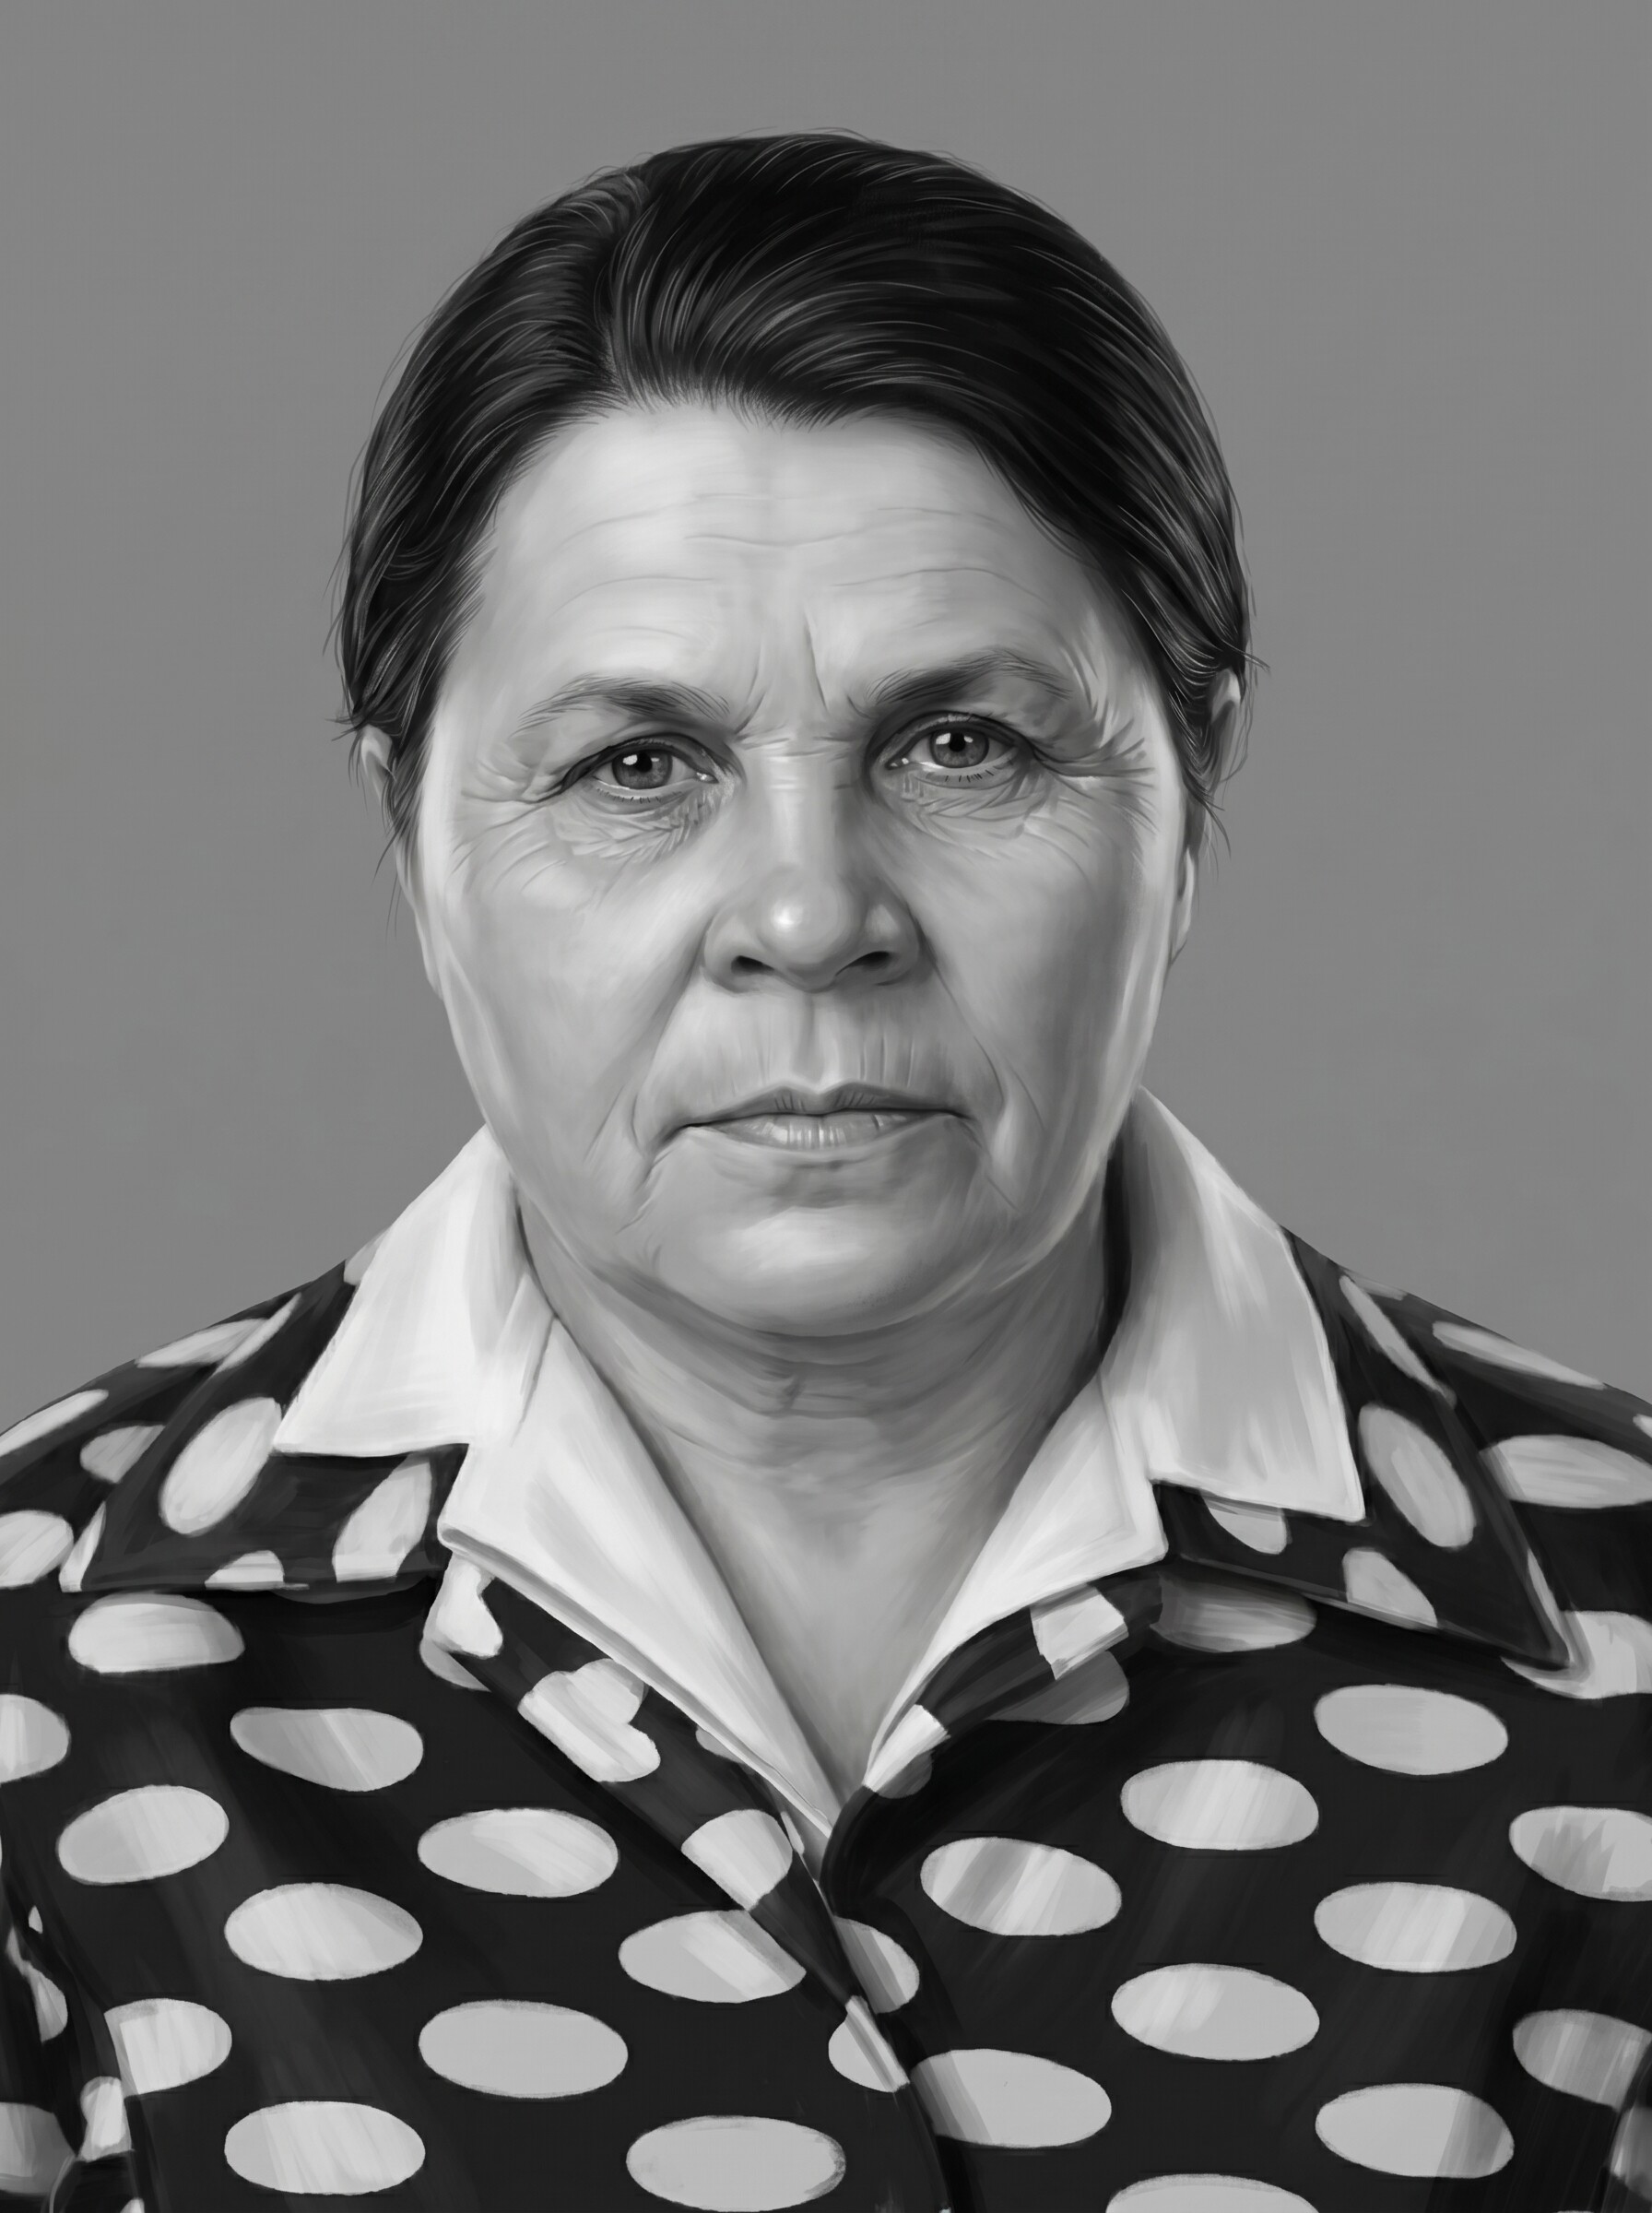
What makes a good photo for laser engraving
- The face fills the frame. A portrait where the head is a large share of the image survives cropping and enlargement. A full-body shot where the face is 80 pixels wide does not.
- Soft, even lighting. Diffused daylight or indoor light without harsh shadows across half the face. The laser exaggerates every shadow into a dark burn.
- Eyes visible and sharp. The eyes are what people look at first on an engraved portrait. Avoid sunglasses and heavy squinting; slight blur elsewhere is recoverable, blurred eyes are painful.
- Reasonable resolution. Aim for at least 1000 px across the face. Original camera files beat messenger-compressed copies — WhatsApp and social media thumbnails throw away exactly the detail the laser needs.
Red flags in a source photo
- Strong side light with one half of the face lost in shadow.
- Extreme profile angles — near-frontal portraits read far better once engraved.
- Tiny screenshots, cropped group-photo faces, printed photos re-shot at an angle with glare.
- Heavy beauty filters — they erase the skin texture that gives an engraving depth.
A damaged or old photo is not a red flag, though. Scratches, fading and creases are fixable — that's what the next step is for.
Step 2. Restore the photo
Old prints and scans come with scratches, stains, creases, color fading and film grain. All of these turn into literal burn marks if they reach the laser, because the machine cannot tell a scratch from a strand of hair. Restoration removes the damage while keeping the person's real features intact.
This is the stage where identity matters most. Generic "AI enhancers" often rebuild a face into someone slightly different — a disaster when the portrait is of a real person, especially for memorial and headstone portraits where the family will compare the engraving to their own memory. Use a restoration tool built to preserve likeness, or if you restore manually, resist the urge to repaint facial features.
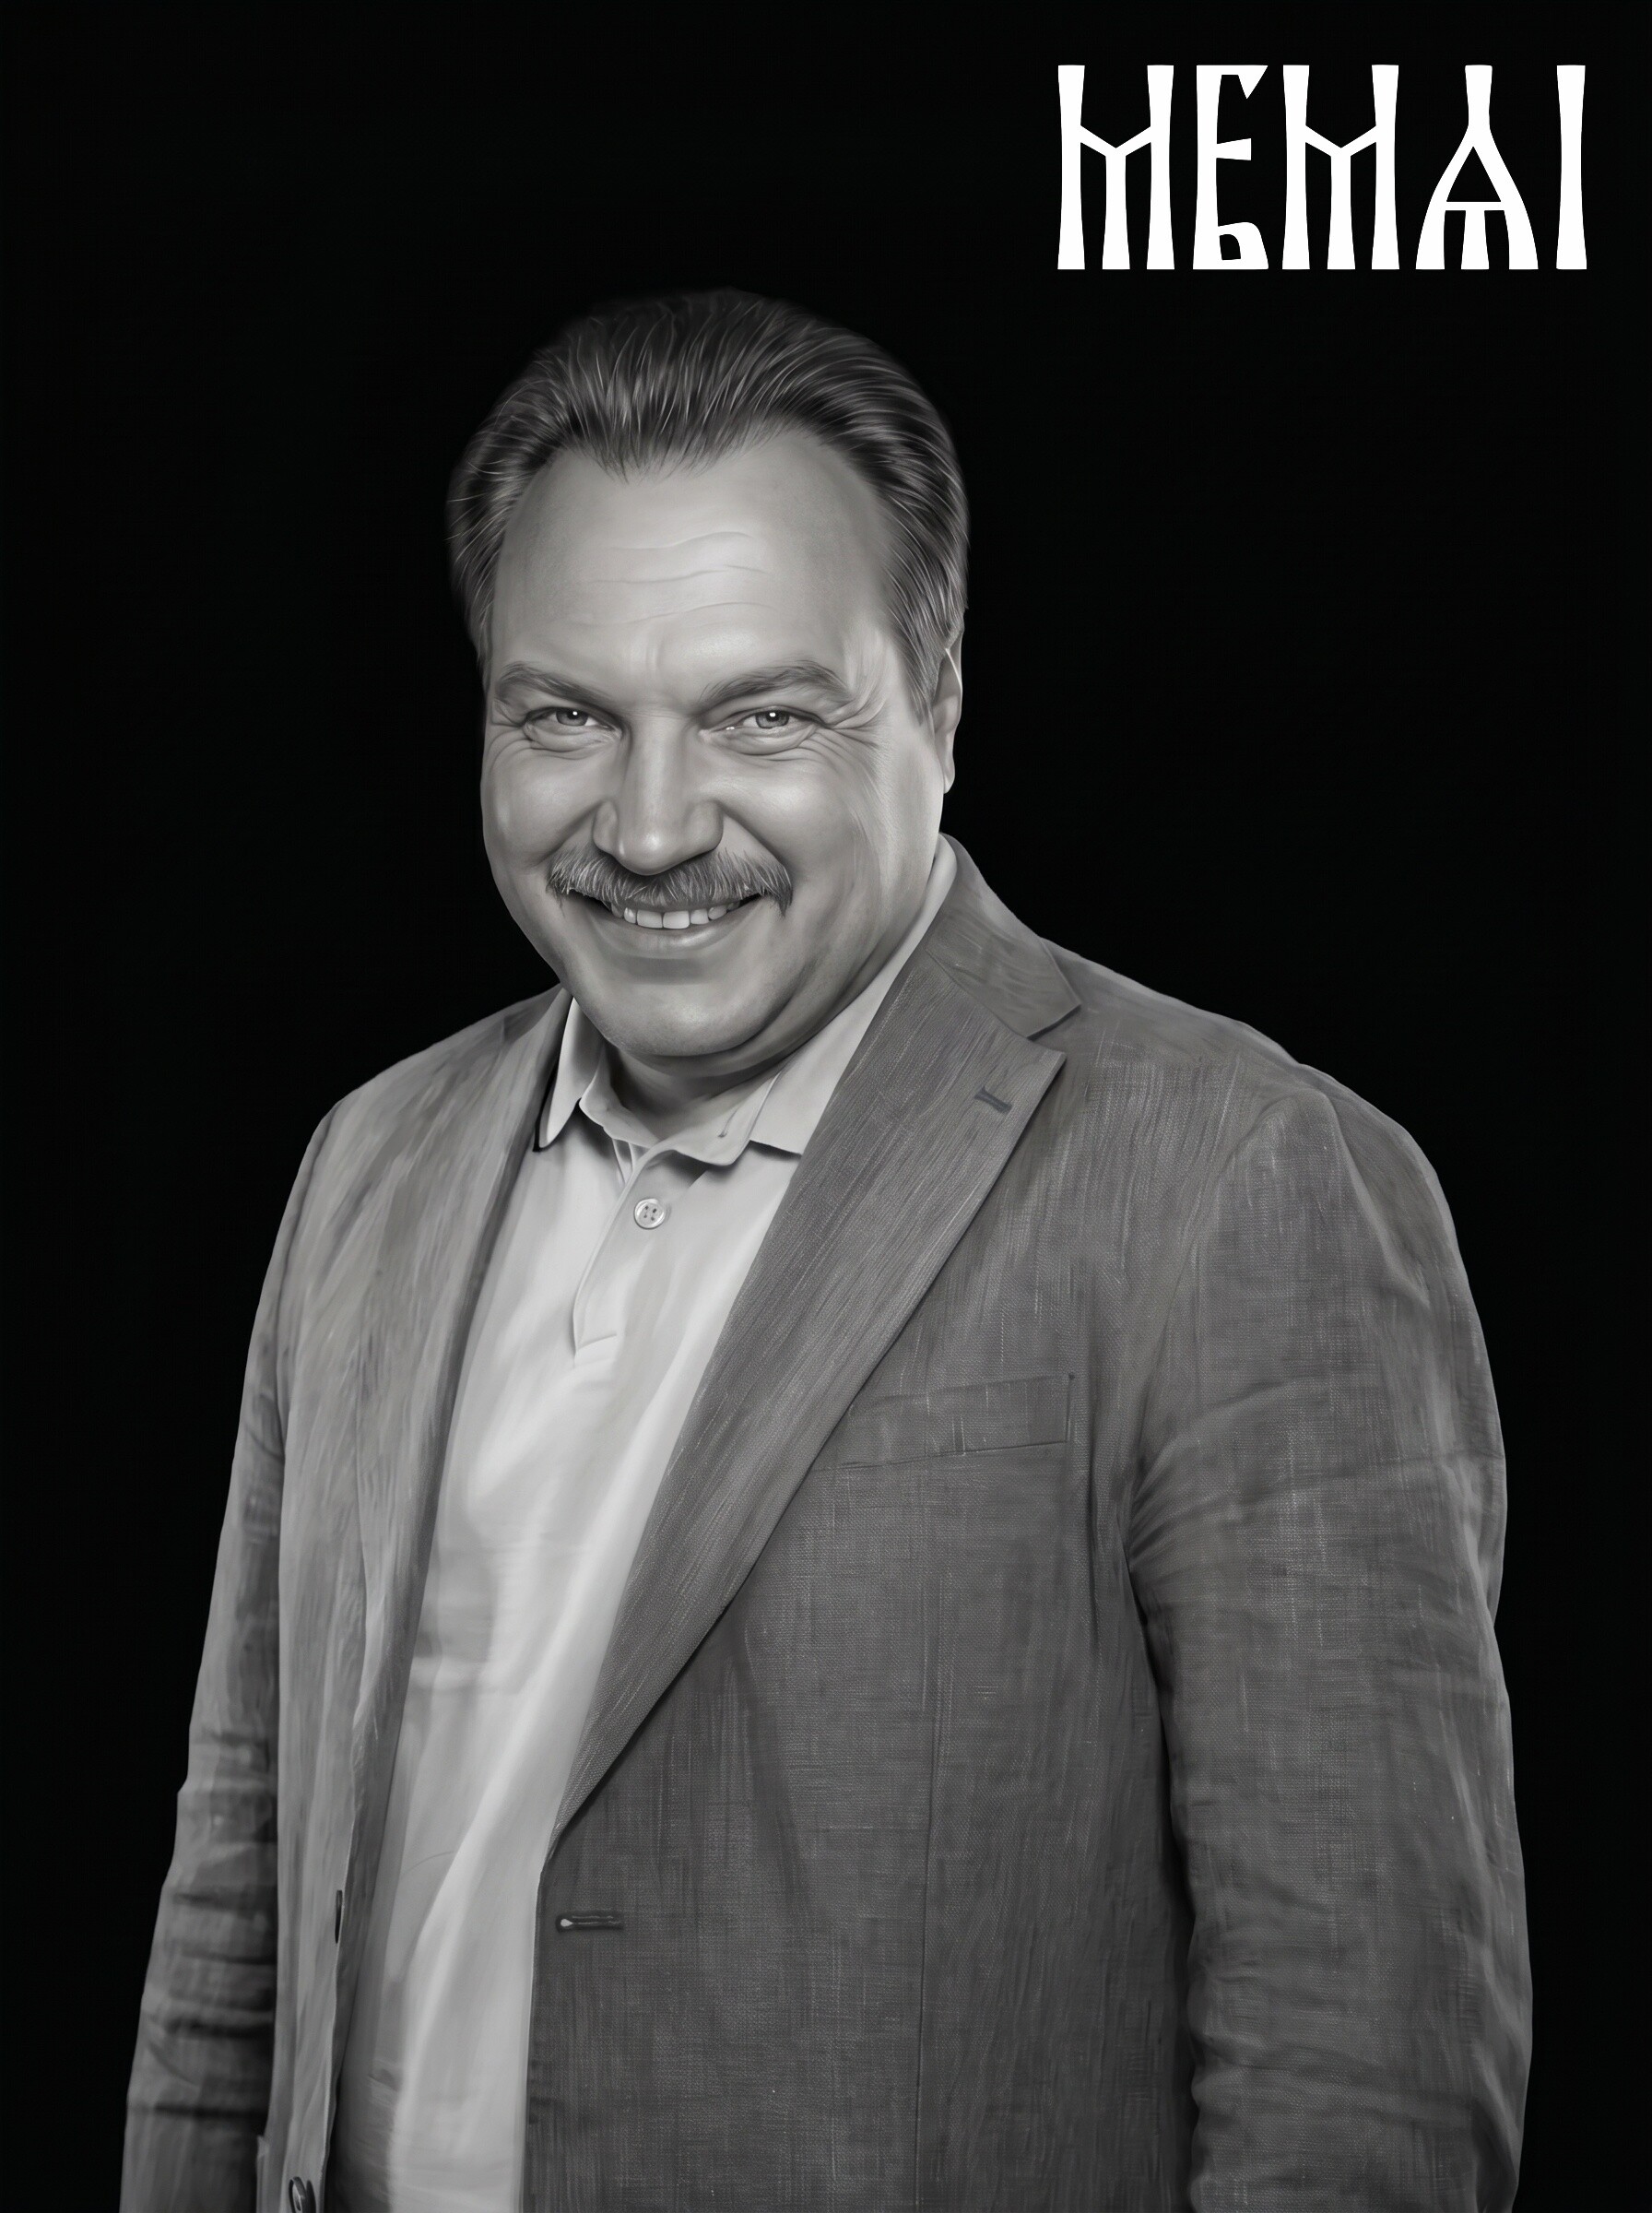
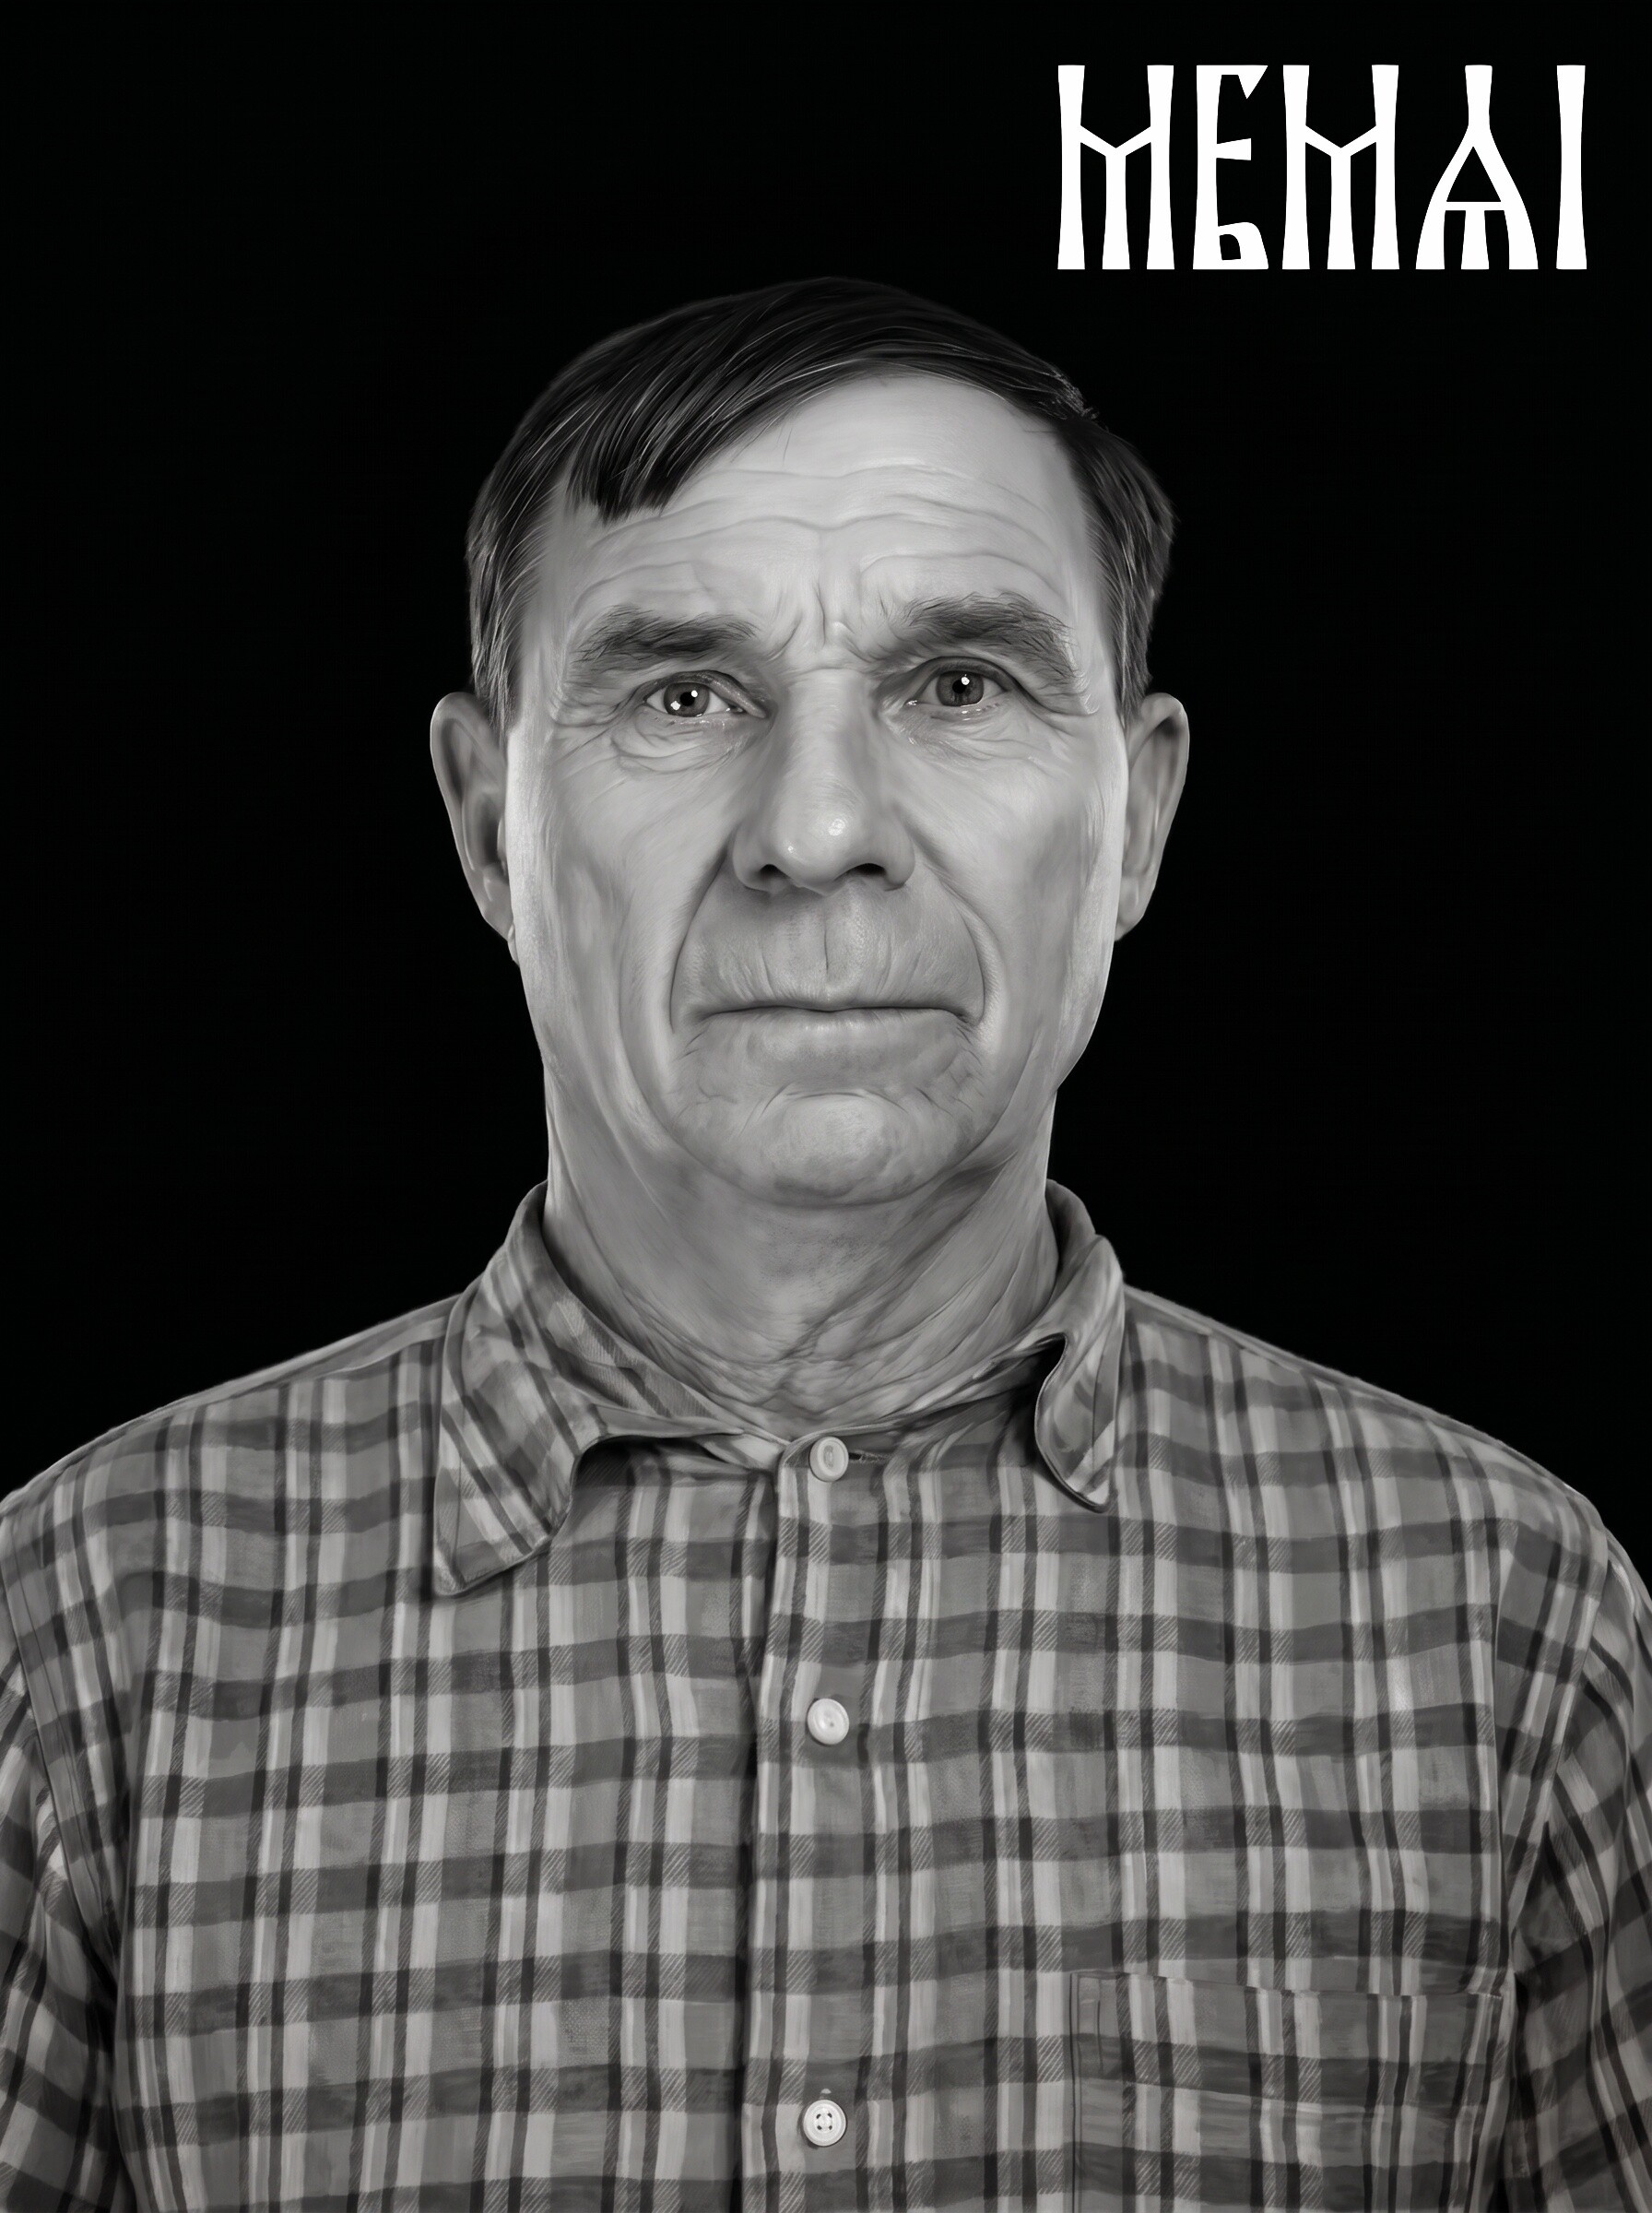
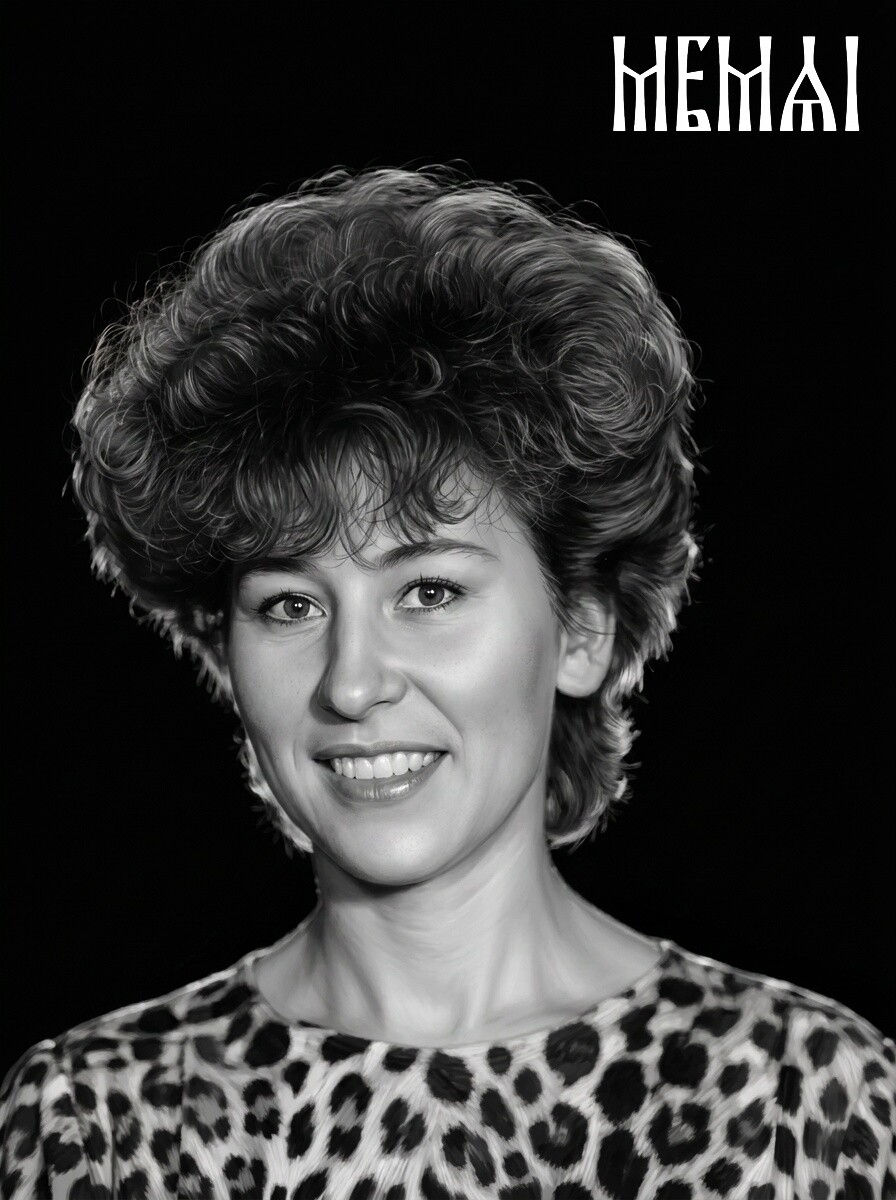
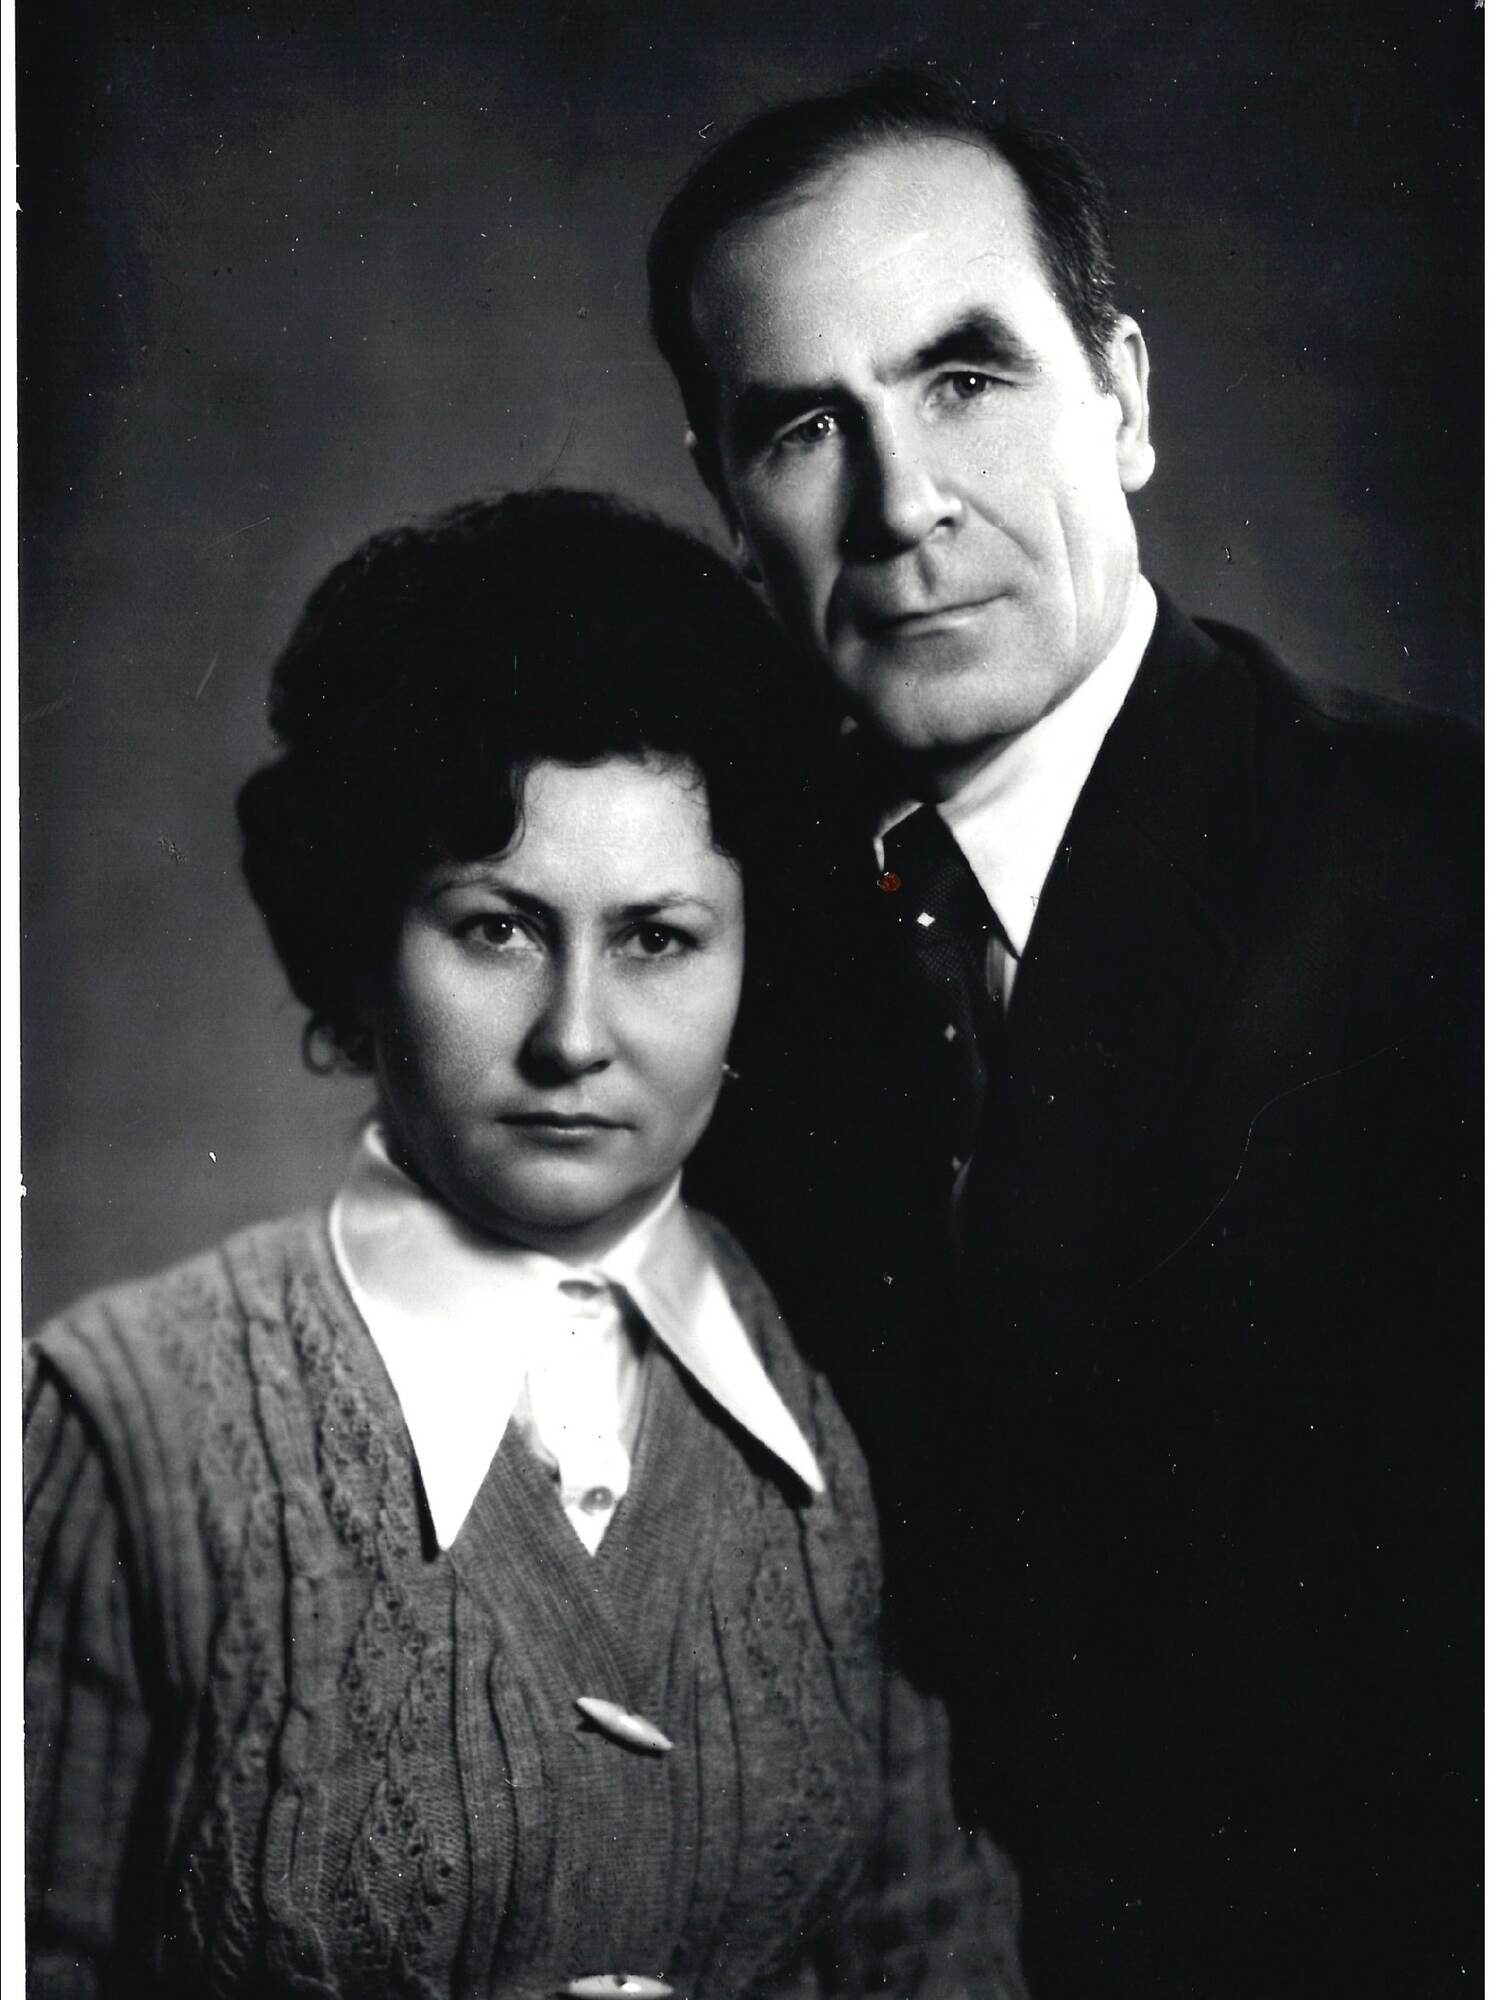
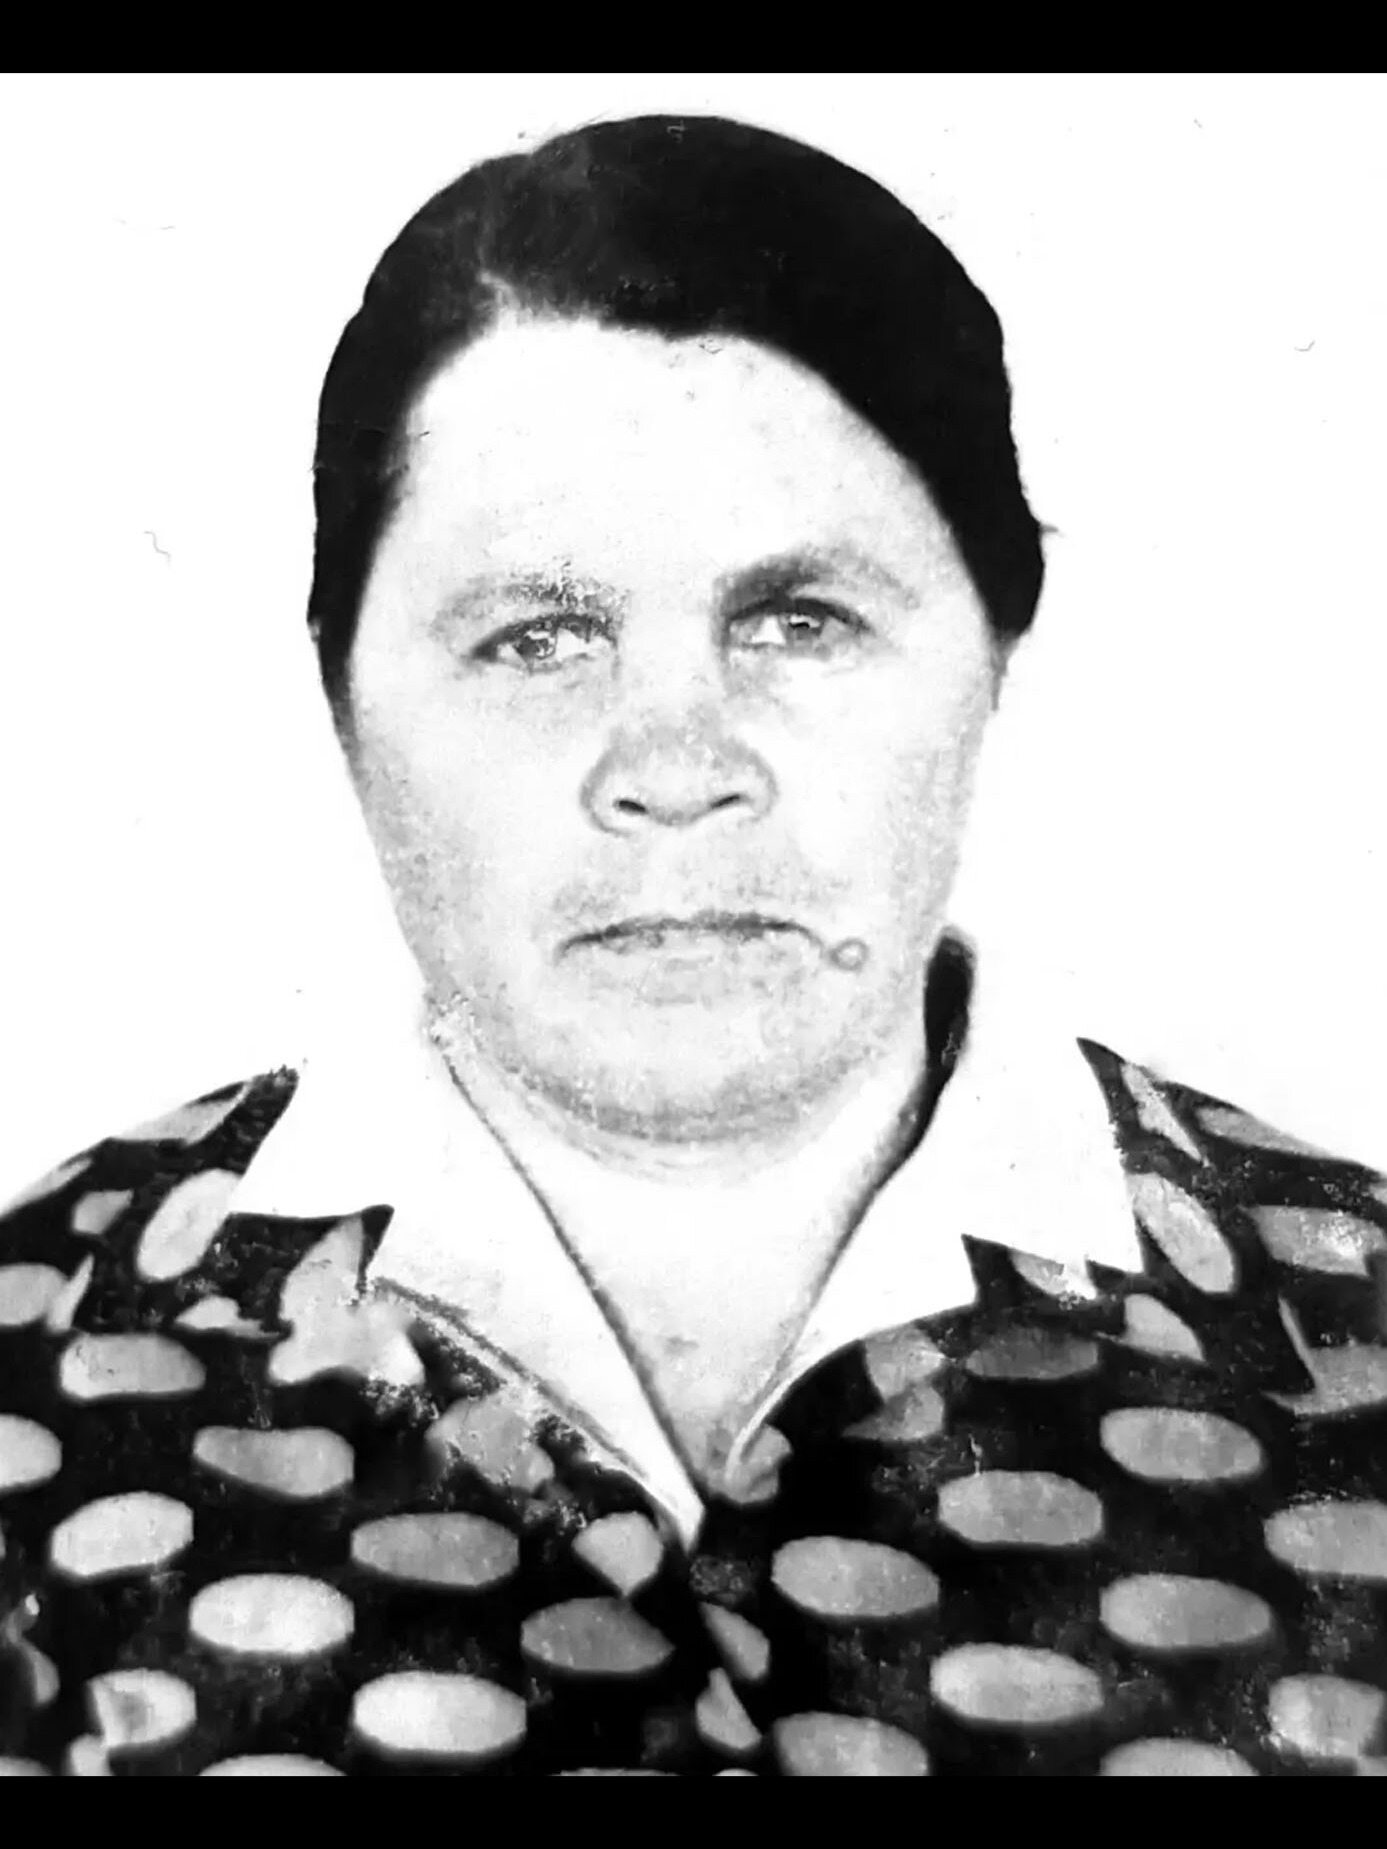
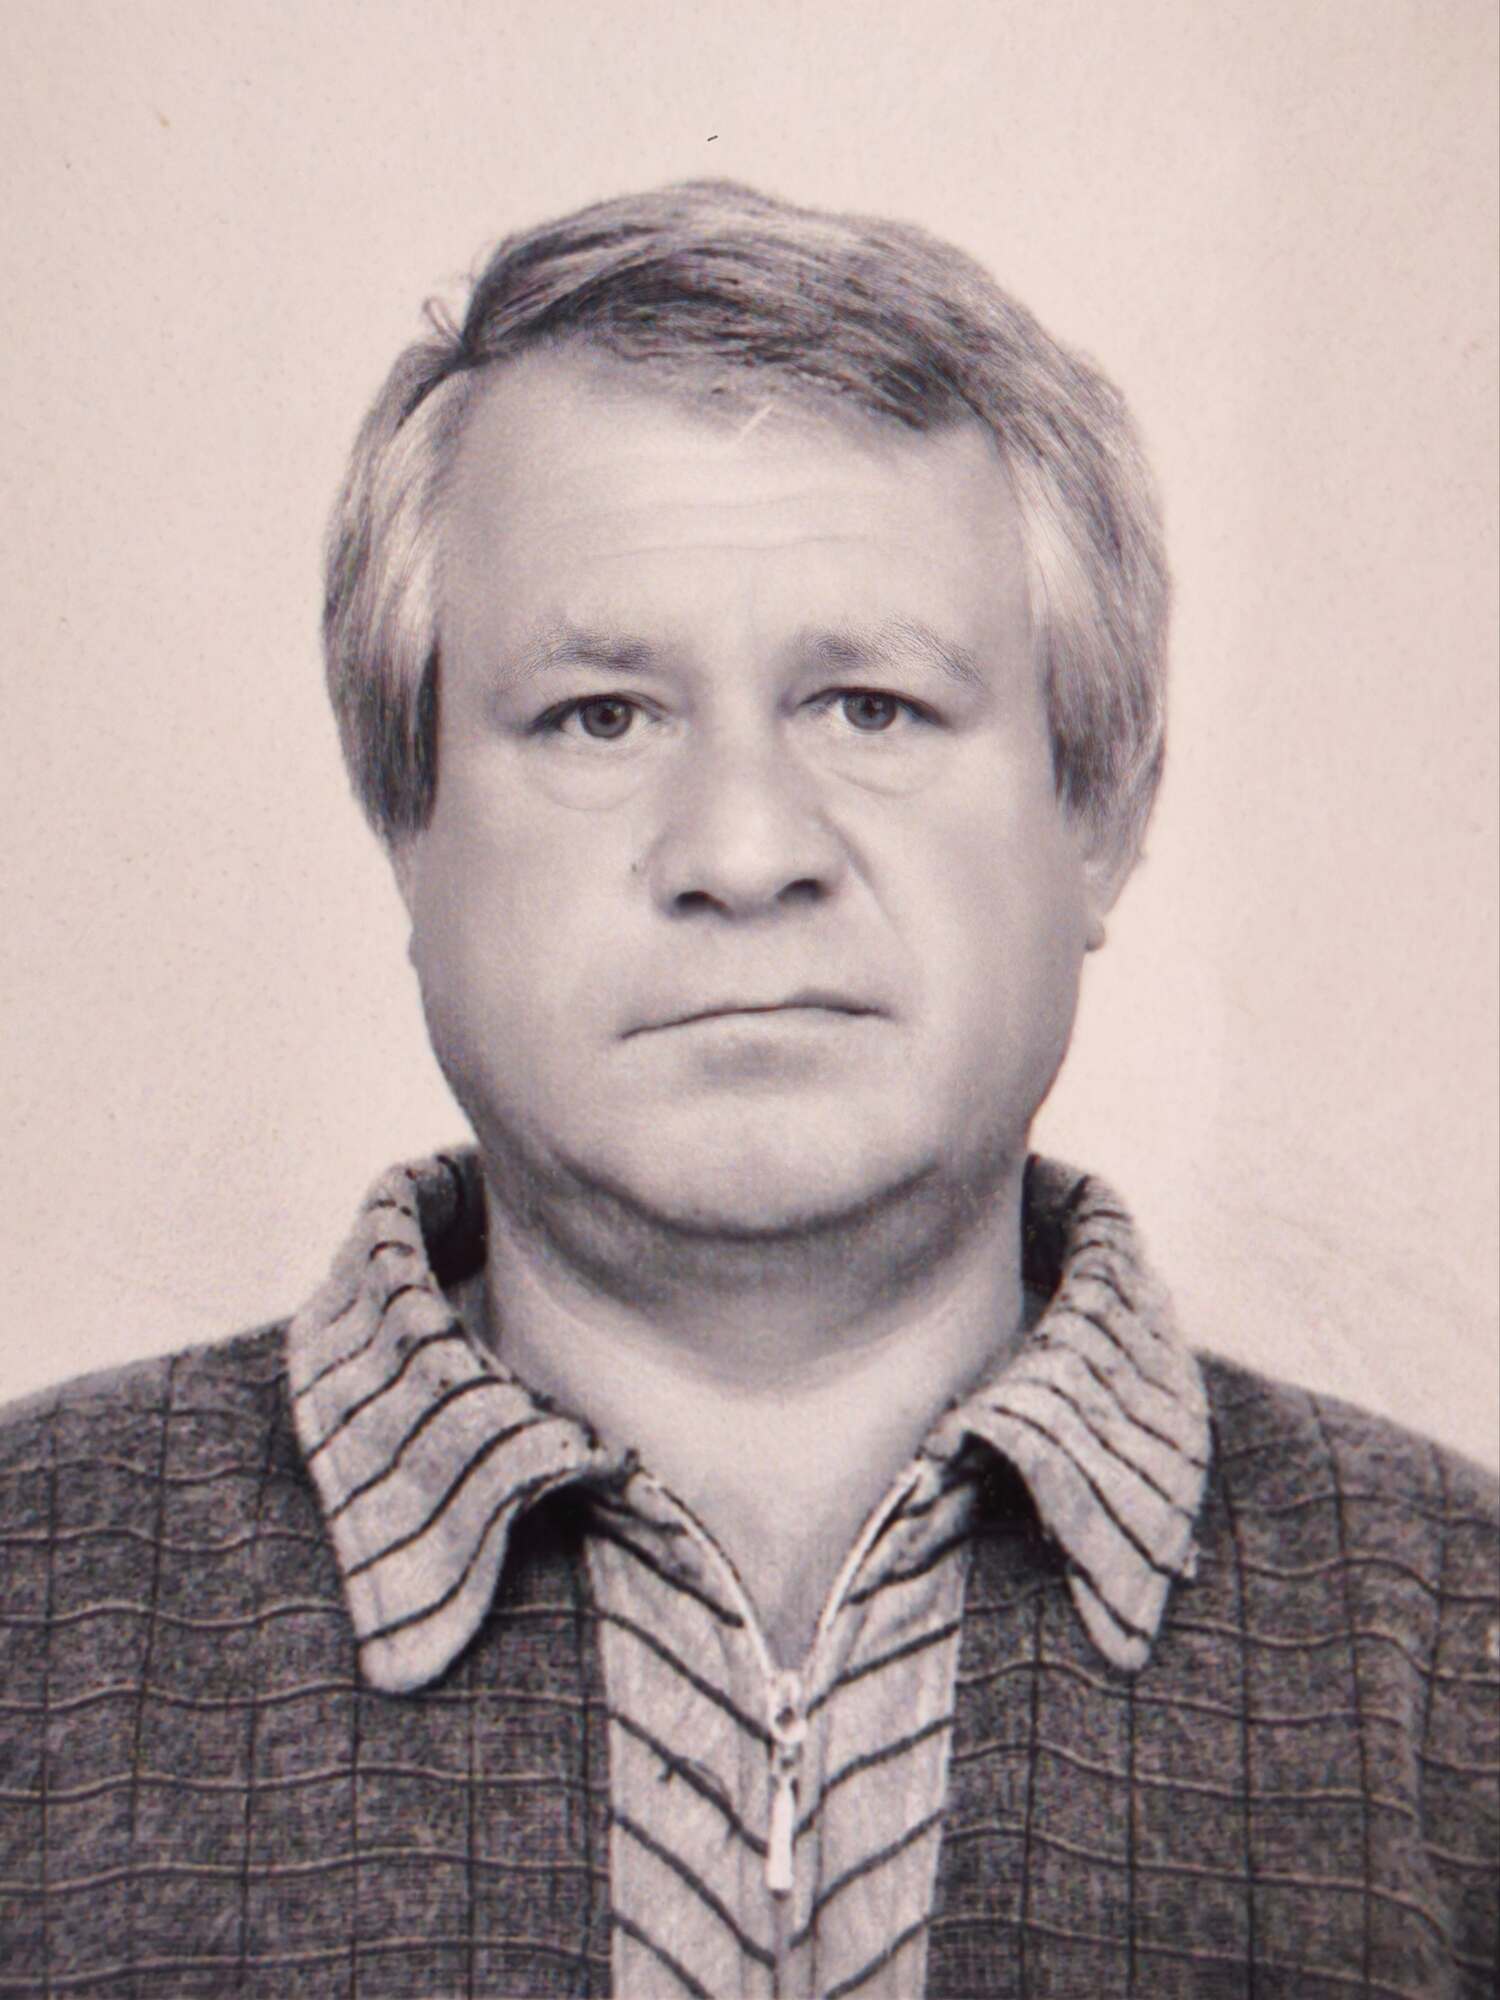 Before
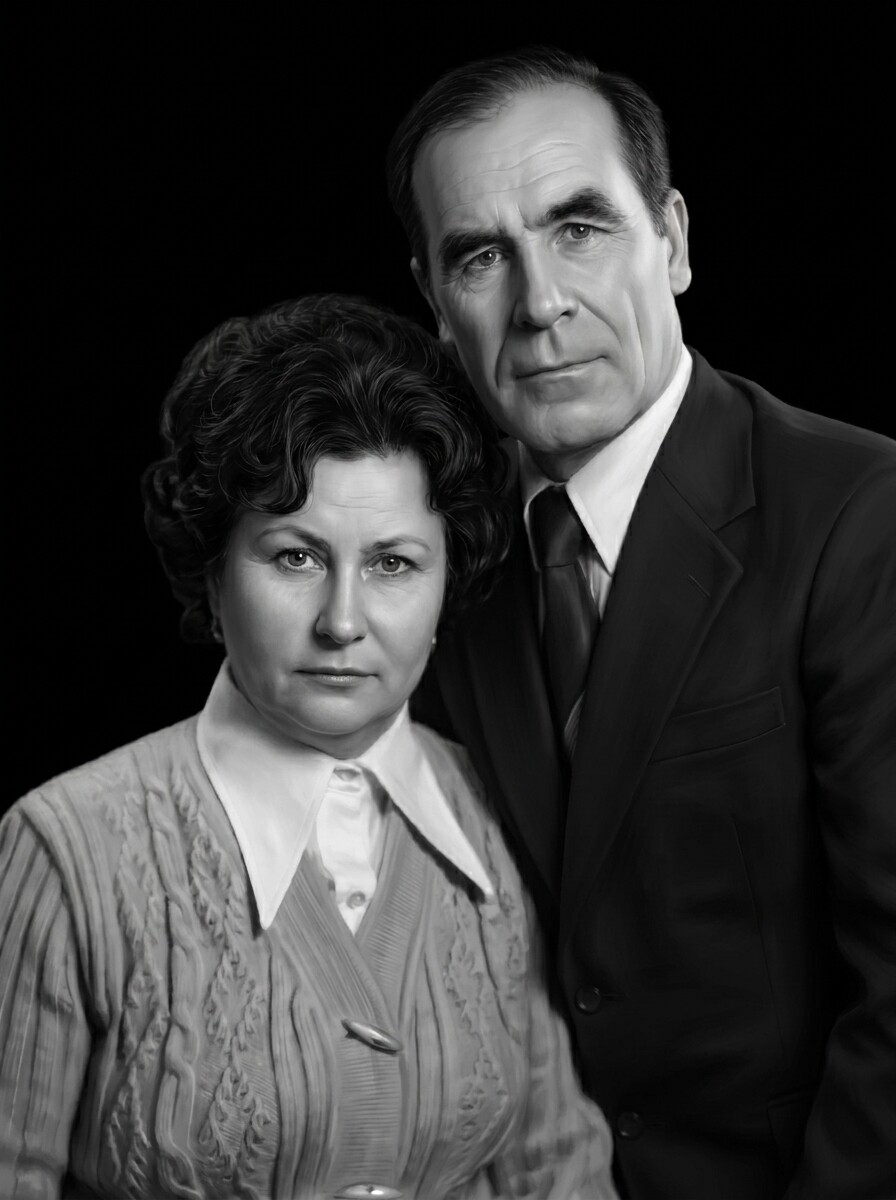
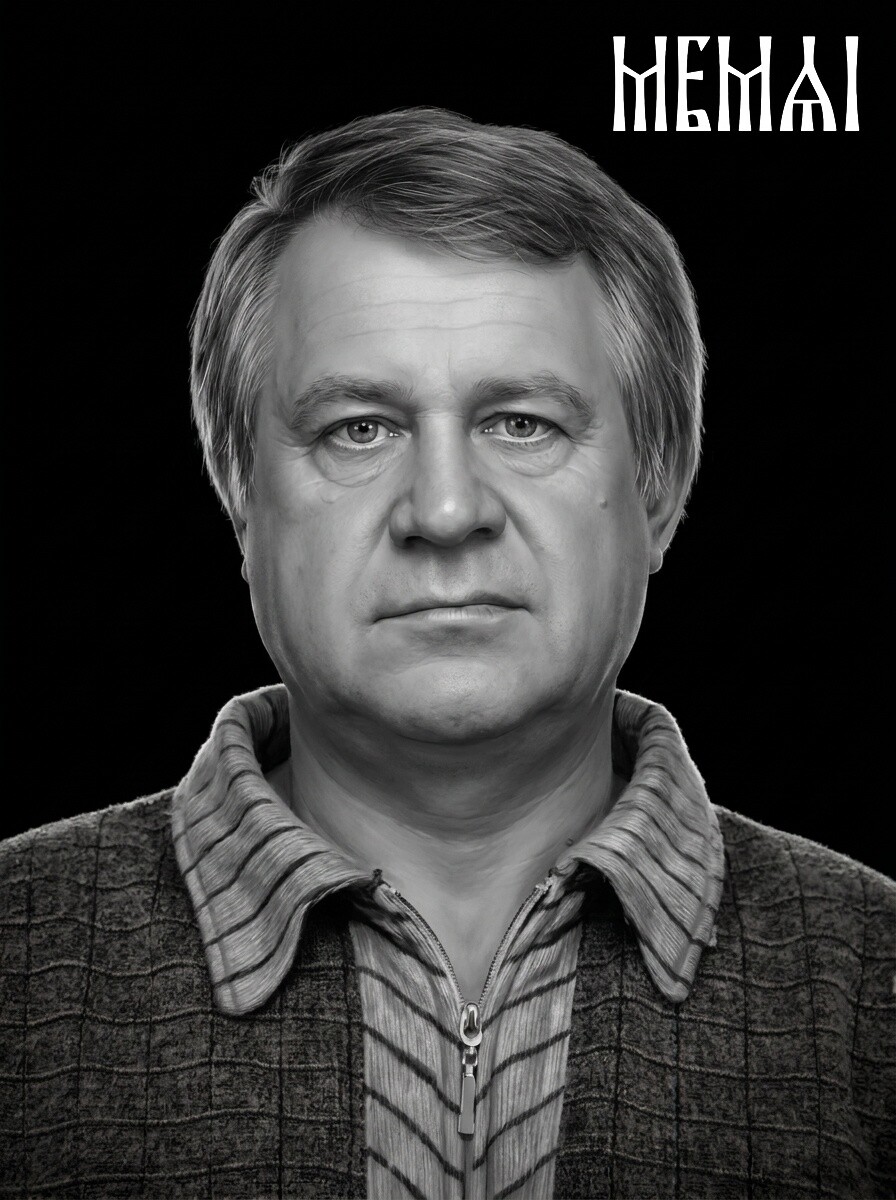 After
After
Step 3. Retouch for the laser, not for Instagram
This is the step most hobbyists skip, and the step that separates professional-looking engravings from flat ones. Laser retouching is the opposite of social-media retouching: the goal is not smooth glamour, it's a controlled tonal map the machine can burn.
- Boost midtone contrast on the face. Cheekbones, nose line, jaw — the structure must be readable in grayscale. If the face looks slightly "over-contrasted" on screen, it's usually right for the laser.
- Protect the highlights and shadows. Pure white areas engrave as nothing; pure black areas engrave as solid burn. Both destroy detail. Keep skin tones inside the usable range with texture everywhere.
- Kill the noise, keep the texture. Digital noise and JPEG artifacts dither into ugly speckle. Skin texture, hair strands and fabric weave are the good detail — they must survive denoising.
- Convert to grayscale deliberately. Don't let the laser software's automatic conversion decide the tones. A red shirt and green background can map to the identical gray — separate them yourself while you still have color to work with.
Doing this well in Photoshop takes years of practice and 30–60 minutes per photo — which is why mastershops traditionally send portraits to a human retoucher and wait a day for each one. An AI pipeline tuned specifically for engraving does the same tonal work in minutes.
Try it free — first photo on us
Upload any photo and get an engraving-ready portrait in about 5 minutes: restoration, laser-tuned retouching and background removal in one pass. No Photoshop, no signup.
Prepare my photo freeStep 4. Deal with the background
A busy background is the fastest way to lose a portrait. Wallpaper patterns, foliage, other people's shoulders — the laser burns them at full detail and the viewer's eye has nowhere to land. You have three good options:
- Remove it completely. The safest choice for most jobs. A clean subject on empty material looks intentional and gives the workshop room for text or composition.
- Replace it with a soft halo. A gentle gradient behind the head — the classic look for portraits on black granite and dark-stained wood.
- Keep it only if it's already clean. A plain studio backdrop can stay; anything with texture or clutter should go.
 Before
 After
After
Step 5. Export: resolution, DPI and file format
The last stage is packaging the image for your machine. The laser engraving photo requirements here are simpler than forums make them sound:
- Resolution: target roughly 300 DPI at final engraving size. A 4×5 inch portrait needs about 1200×1500 px; a large 12×16 inch granite portrait wants 3600×4800 px. A 4K output file covers almost every real-world job.
- Format: the best image format for laser engraving is a high-quality JPEG or PNG in grayscale — every mainstream package (LightBurn, Glowforge app, xTool Creative Space) accepts both. Use PNG when the background is removed.
- Dithering: leave it to the laser software at burn time. Dithering vs grayscale mode is a machine decision — diode and CO2 lasers usually dither (Jarvis and Stucki are good defaults), fiber lasers and some hybrids run grayscale/3D modes. Never save a pre-dithered 1-bit file and then resize it: resizing destroys the dot pattern.
- Test on scrap first. Even a perfect file needs a small material test — every wood batch and granite slab burns slightly differently.
Adjusting the prep for your material
The same portrait needs different tonal decisions depending on what you're burning. The biggest variable: does the material burn dark on light or mark light on dark?
Wood burns dark marks into a light surface, so the image works like a normal photo — but grain, resin pockets and wood species change how tones develop. Maple and alder are the forgiving choices. We cover species, contrast targets and Glowforge/xTool specifics in the dedicated guide to preparing photos for wood laser engraving.
Granite and slate work in reverse: the laser etches light marks into dark polished stone, so the image must be prepared as a negative-logic file — highlights carry the detail. This is the standard for memorial work; the full process is in our guide to headstone portrait retouching for granite.
Metal — coated tumblers, anodized aluminum, stainless steel — also marks light-on-dark in most cases and adds a second complication: curvature. Portraits wrapped around a cylinder distort unless sized correctly, which we break down in the guide to photo engraving on tumblers with rotary lasers.
Glass and acrylic frost white where the laser hits, another light-on-dark case. Glass punishes fine detail — go one step simpler than you would on wood: stronger contrast, bolder features, less delicate texture.
 Before
 After
After
Common mistakes to avoid
- Engraving the raw photo. "It looked fine on screen" is the most common last sentence before a wasted blank.
- Upscaling a tiny source in an editor. Resizing adds pixels, not detail. Restore and enhance the original instead.
- Over-smoothing the face. Beauty-filter skin engraves as a lifeless gray patch. Texture is your friend.
- Ignoring the material's logic. A file prepped for wood will look wrong on black granite, and vice versa — the tonal map is inverted.
- Skipping the scrap test. Ten minutes on offcut saves a $40 blank and an awkward customer call.
If a burn has already gone wrong and you're not sure which mistake caused it, the troubleshooting guide matches each visual symptom — muddy face, blown highlights, vanished eyes — to its cause and fix.
FAQ
What resolution does a photo need for laser engraving?
Aim for at least 1000 pixels across the face for a portrait, and roughly 300 DPI at the final engraving size — a 4×5 inch portrait needs about 1200×1500 px. More is always fine. Upscaling a tiny file in an editor adds pixels but no real detail; AI restoration of the original source works far better.
What is the best image format for laser engraving?
A high-quality grayscale JPEG or PNG works with virtually every machine and software package, including LightBurn, the Glowforge app and xTool Creative Space. Prefer PNG when the background has been removed, and let the laser software apply dithering at burn time.
Can I engrave a photo without editing it first?
Technically yes, practically no. Unprepared photos produce muddy faces, blown-out highlights and backgrounds that swallow the subject, because engraving compresses the image into a narrow tonal range. Restoration, laser-tuned contrast and a clean background are what make a photo machine-ready.
Do I still need dithering if the photo is properly prepared?
Yes — dithering (or grayscale/3D mode) is how the machine reproduces tones, and it happens in your laser software at burn time. But dithering cannot repair damage, fix flat contrast or recover a face. Preparation and dithering are different stages: prep first, dither last.